Best Motorcycle Lights for Delivery Riders – Night Guide
The complete night delivery lighting guide from me. LED picks, upgrade order, legal rules, and quick links to every lighting review on the site.
Best Motorcycle Lights for Delivery Riders
Being invisible at night is the fastest way to lose money or end up in a hospital bed. I know that because I spent my first six months of delivery work in New York riding with stock lighting that was aimed wrong, half as bright as it needed to be, and completely useless in the rain. This guide is the hub for everything I have tested and written about motorcycle lighting for night delivery. It covers the upgrade order I recommend, the key decisions you need to make before buying anything, and links to every in-depth review on the site. If you are new, start here. If you already know what you need, jump straight to the relevant section below.
Quick Reference: Every Lighting Category for Night Delivery
This table covers every lighting category a delivery rider should know. Each link goes to a dedicated review or install guide with specific product picks and real-world notes.
| Lighting Category | What It Does for You |
| Auxiliary lights | Extends your forward beam for rain, fog, and dark city blocks. My top picks with comparison table. |
| Tail lights | Makes your braking visible at distance. Legal run and brake setups that keep you compliant. |
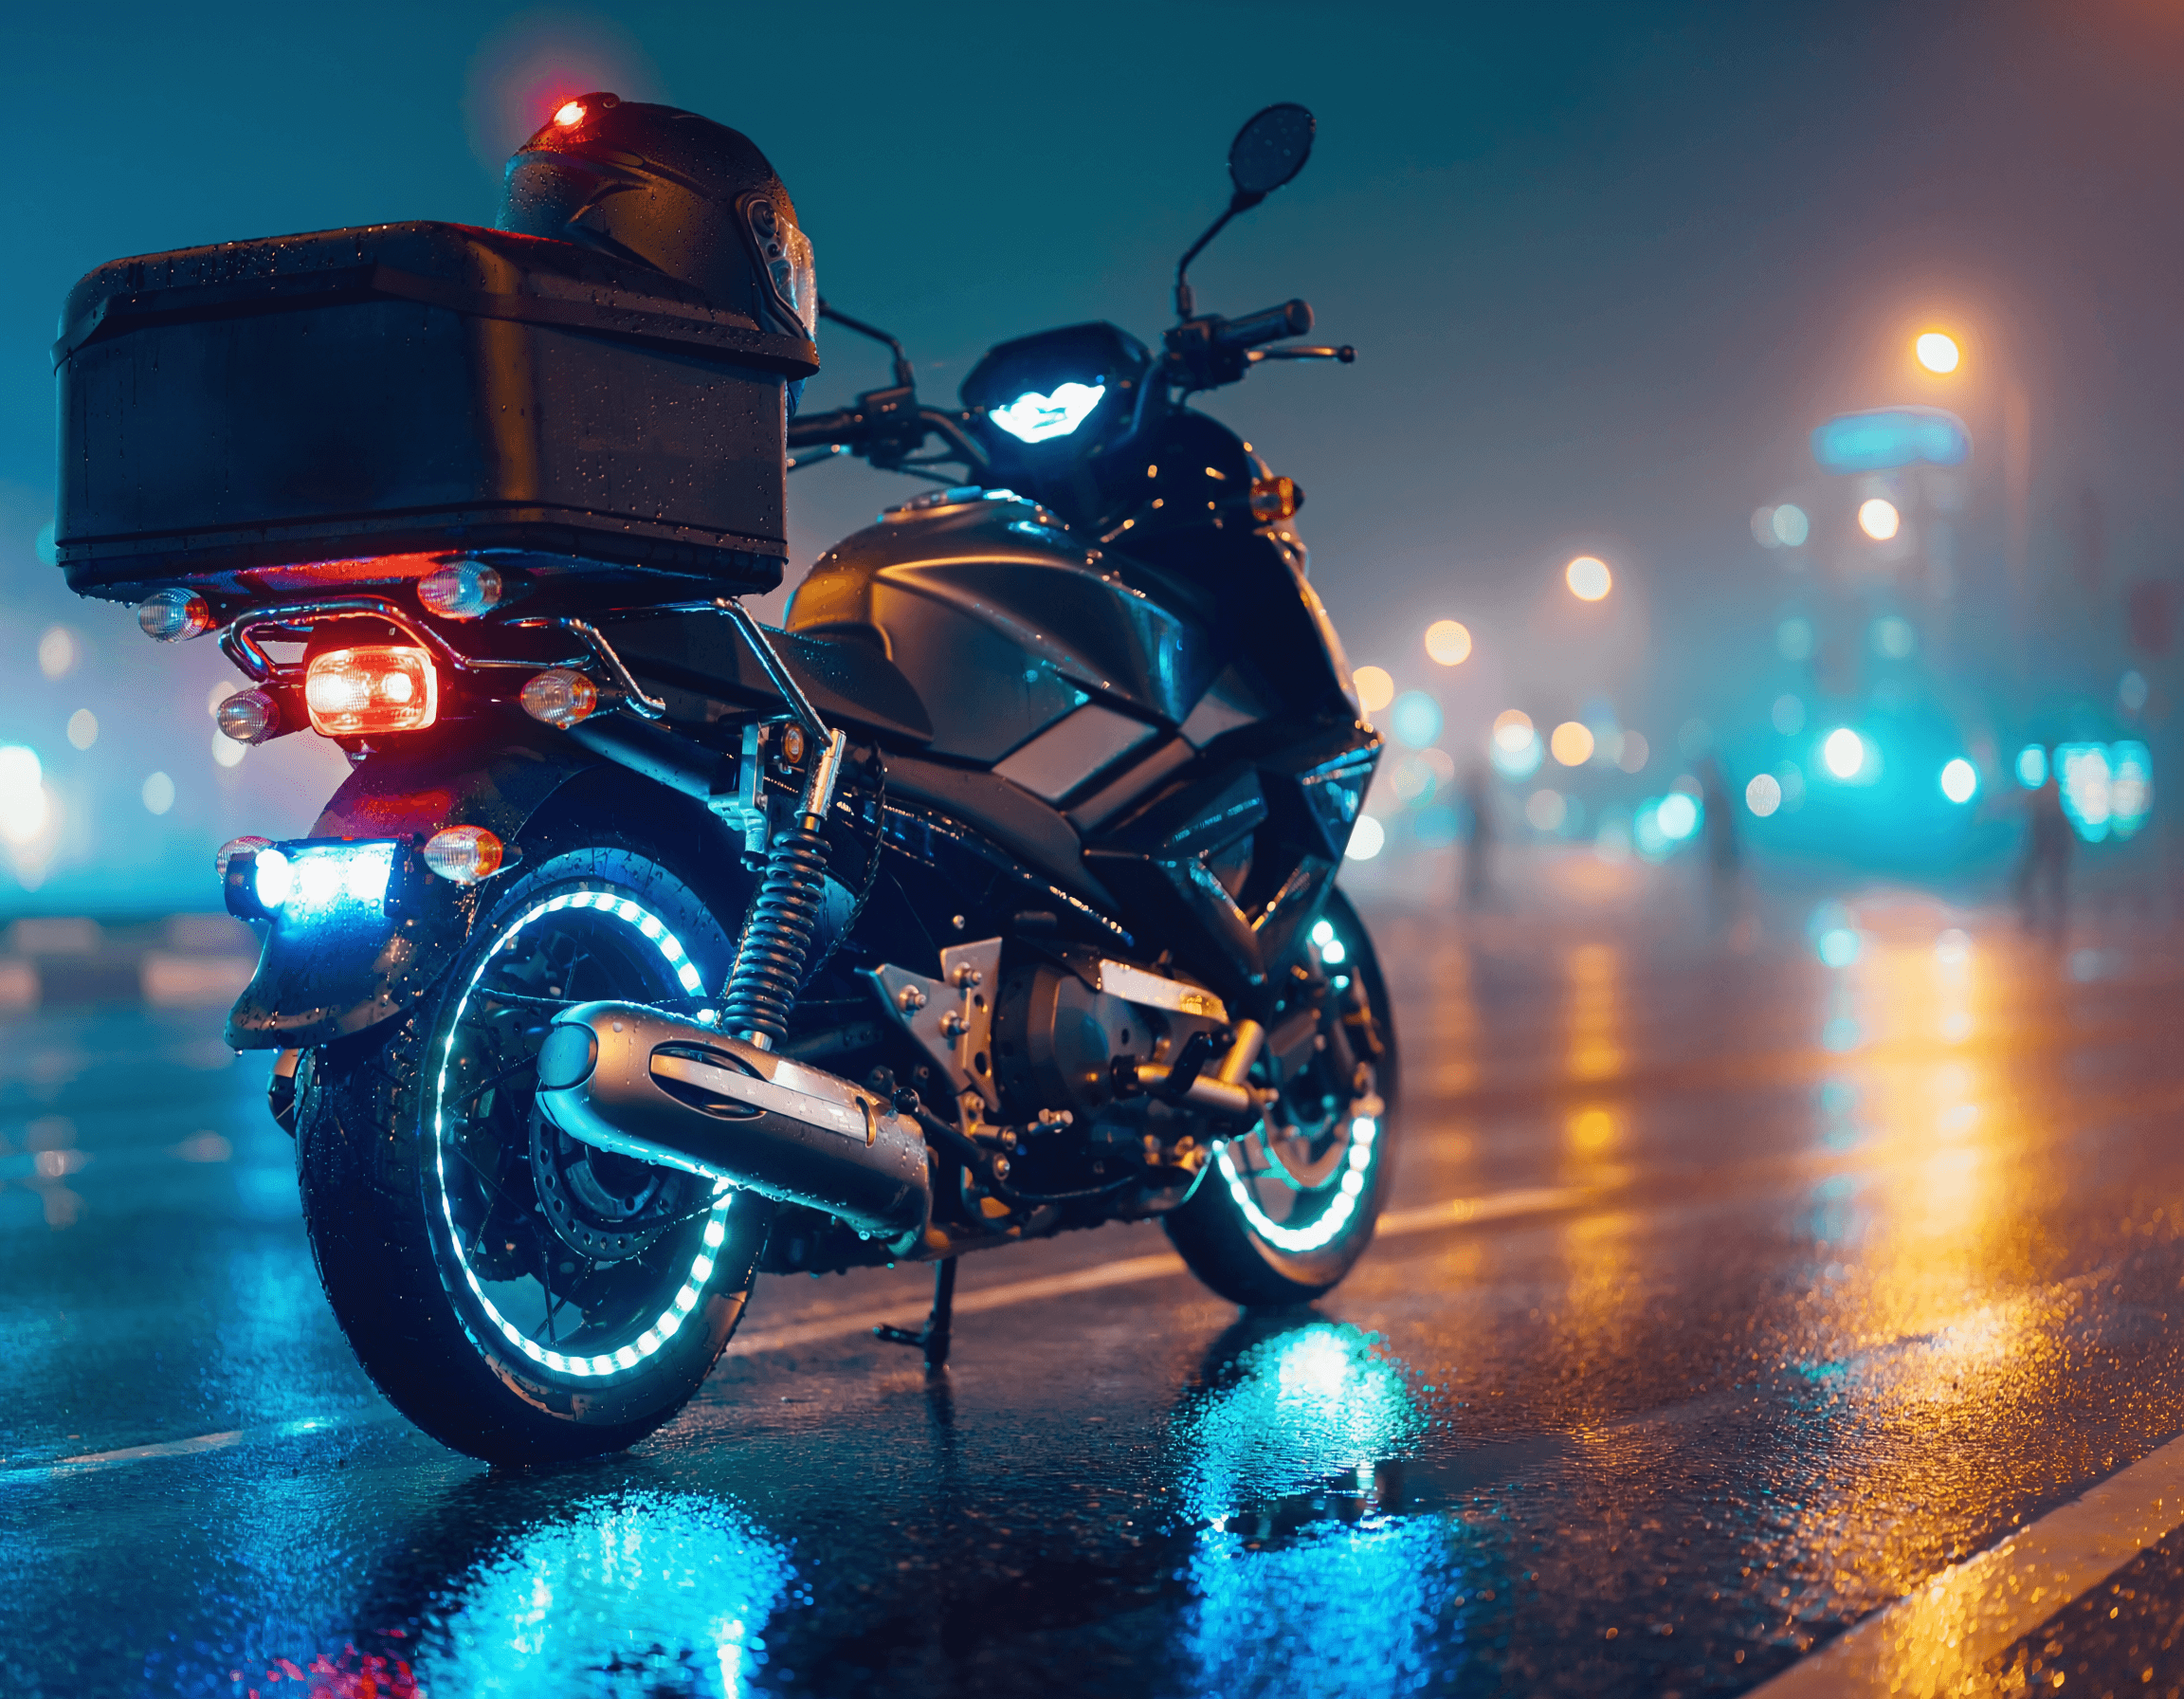
| Wheel lights | Creates motion contrast drivers notice in peripheral vision. Low cost, big impact at intersections. |
| Helmet lights | Adds rear and side visibility at eye level. Especially useful at intersections and when stepping off the bike. |
| Number plate light | Required by law. Compliant LED options that avoid the roadside stop on late shifts. |
| License plate light install | Step-by-step DIY replacement guide. Done in under 30 minutes, no shop required. |
| Strip lights | Accent and side visibility in one kit. Install guide with legal notes by state. |
| Light bars | Broad near-field illumination for dim suburban streets and rural runs. Deep dive with mount options. |
Why Stock Lighting Is Not Enough for Night Delivery
A standard motorcycle headlight is designed to meet a minimum legal requirement at a set test distance. It is not designed for someone who is stopping thirty times a shift, cutting through unlit service alleys, and braking hard on wet asphalt with a car behind them that may or may not be paying attention.
Stock lighting fails delivery riders in three specific ways. First, beam distance is too short for stop-and-go city riding where hazards appear fast and close. Second, stock bulbs are often aimed slightly wrong from the factory and nobody corrects them because for casual riding it does not matter. Third, there is no rear redundancy - a single tail light failing at night leaves you invisible from behind until you find out the hard way.
Every upgrade I recommend on this site solves one of those three problems. Front lighting adds distance and weather performance. Rear lighting adds redundancy and braking visibility. Side and wheel lighting creates the motion contrast that makes drivers register you at intersections before they are already committed to cutting across your lane.
The Upgrade Priority Order
I get asked constantly what to buy first. Here is the order I recommend, based on what gives you the biggest safety return per dollar spent.
Start with the tail light. The highest risk position for a delivery rider is from behind. Cars following you through city traffic may be closer than they should be, distracted, or adjusting speed to make a light. A bright, compliant LED tail light that makes your braking obvious from 200 feet costs $20 to $50 and takes an hour to install. Do this before anything else. See my Best Motorcycle Tail Lights for Delivery Riders - LED Picks
Second, check your plate light. A burned-out plate light is a ticket. It also signals to any cop on the block that this rider is worth pulling over. A compliant LED replacement takes 30 minutes and costs under $20. See the Motorcycle License Plate Light - DIY Replacement Guide
Third, add wheel lights or a helmet light. These are the cheapest way to create side and motion visibility. Drivers at cross-streets notice moving wheel lights before they register a static headlight beam. A rear helmet light makes you visible from behind even when your tail light is blocked by your delivery bag. Both are under $30. See the Motorcycle Wheel Lights - Best Picks for Delivery Riders and Motorcycle Helmet Light Review - Best Picks for Night Delivery
Fourth, upgrade your forward lighting. Once the basics are covered, add an auxiliary pod kit or a light bar for the forward range and fog performance stock headlights cannot provide. This is the step that makes a real difference on dark blocks and in rain. See my Motorcycle Auxiliary Lights - Best Picks for Delivery and Motorcycle Light Bar Review - Best Front Lighting for Delivery
Strip lights are optional. They add side visibility and look clean but they are not safety-critical compared to the steps above. Install them when the basics are done. See the Motorcycle Strip Lights - Install Guide for Delivery Riders
How to Choose the Right Light for Your Setup
Lumens and Beam Pattern
Lumens measure total output but beam pattern determines whether that output is actually useful. A 5,000 lumen flood lights up the road close to the bike. A 2,500 lumen spot picks out a hazard 400 feet ahead. For delivery riding you need both at different times. Look for kits with selectable modes or buy one flood and one spot unit.
Color and Legal Requirements
Most US states require white light at the front and red at the rear. Amber is permitted for side markers and turn signals in most jurisdictions. Never install anything that could be mistaken for an emergency vehicle, including blue lights or rapid white strobes. Check your state DMV before adding any colored accent lighting.
LED vs Halogen
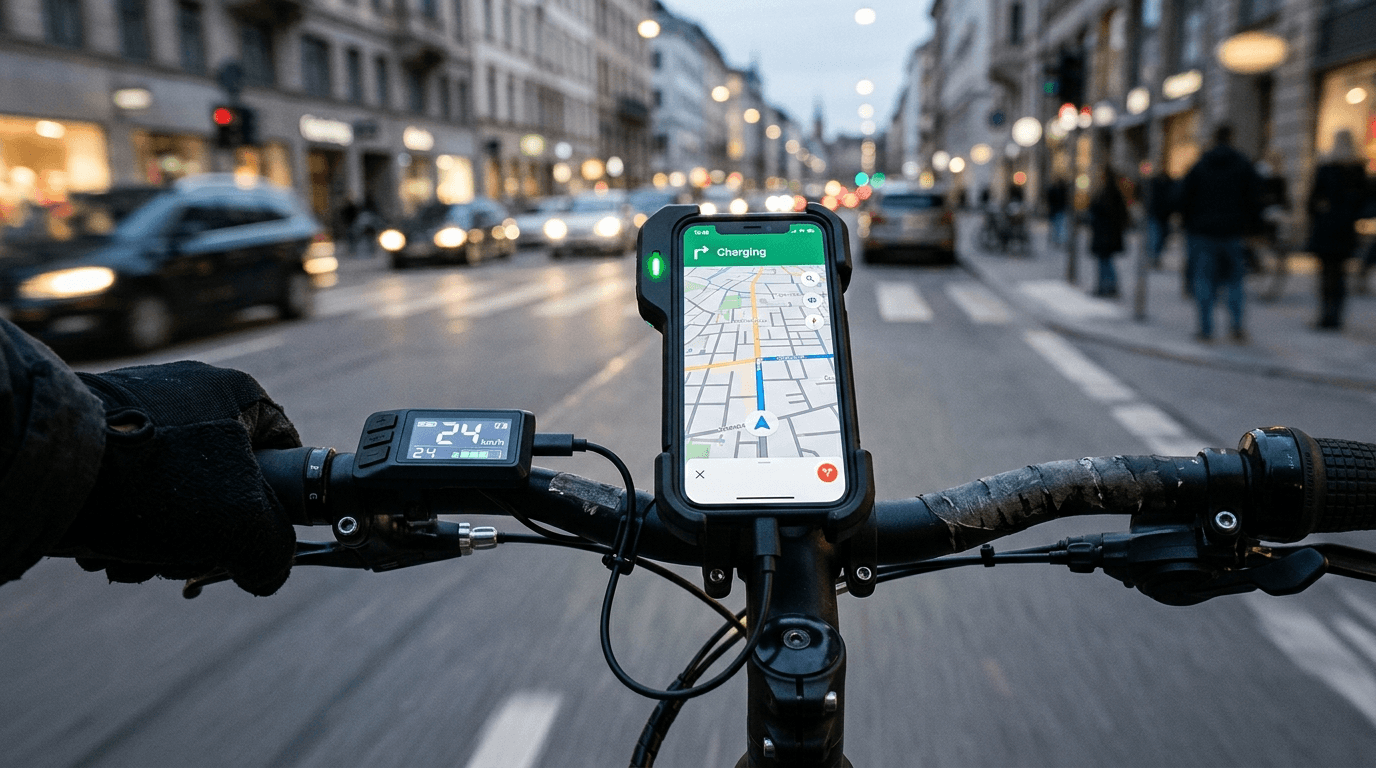
LED is the only practical choice for delivery work. Lower power draw means less strain on your electrical system. Instant-on brightness matters when you are flicking a switch between intersections. LED units last years under constant vibration where halogen burns out in months. On ebikes and smaller scooters, the lower draw is especially important for preserving battery range on a long shift.
Weather Rating and Build Quality
For street delivery in any US city, IP67 is the minimum I will accept on any light I mount permanently. IP68 is better for riders who go through standing water or puddles regularly. Metal housings handle potholes better than plastic composites. Rubber grommets on wiring exits prevent water tracking into the connector over time.
Mounting, Wiring, and Theft Risk
Handlebar mounts are easy to move between bikes. Fork and crash bar mounts hold aim better on rough roads. For rear lighting, keep the profile low, a box hanging off the rack bumps into things and breaks housings fast. On delivery bikes in New York, anything that can be grabbed at a red light will be grabbed. Run wiring cleanly and use tamper-resistant fasteners where you can.
Visibility Best Practices for Night Delivery
Lights alone are not enough. How you ride and position yourself matters as much as the kit on your bike.
Ride slightly left within your lane on urban streets where the door zone on your right is a constant risk. Position yourself where the driver behind you can see your full profile. Signal early and give clear visual cues before every turn or lane change.
Mix active lights with passive reflective materials. Reflective tape on your delivery bag, helmet, and jacket works around the clock without draining anything. I put retro-reflective strips on the sides and back of my insulated bag because it adds rear and side detection even when I am stopped with the engine off waiting for a restaurant order.
In wet weather, slow your approach speed at every intersection. Wet roads increase stopping distances and reduce the contrast between your lights and the surrounding reflections. Your lights look different in rain than they do in a dry parking lot. Test every new lighting setup in actual rain before you rely on it.
Legal and Platform Compliance
US lighting law varies by state but the core rules are consistent: white front, red rear, amber for signals and markers. Flashing or strobe modes are restricted in several states. New York prohibits strobe-style lighting that resembles emergency vehicles. If you are not sure about your state, check the DMV vehicle equipment page directly.
Gig platforms including DoorDash, Uber Eats, and Amazon Flex each have equipment policies. Most do not specifically address aftermarket lighting but some restrict modifications that could be associated with emergency services. Read the vehicle equipment section of your platform's driver policy before your install. Keep a copy of your light's specification sheet and a photo of the installed setup. If a dispatcher or officer ever questions your equipment, you can show exactly what you installed and confirm it meets legal specs.
Troubleshooting and Maintenance
Flicker on a newly installed light almost always points to a loose ground. Clean the ground contact down to bare metal and make sure the connection is solid before assuming the unit is faulty.
Water inside a lens means the IP seal has failed. Dry the housing with compressed air, reseal with silicone, and monitor for a week. If it keeps happening the housing has a crack or a bad seal from the factory. Replace it rather than keep chasing the problem.
Mounts rattle loose on city streets. Check and re-torque all mount hardware after the first two weeks, then monthly after that. A shifted mount means shifted aim, and a light pointing at the sky or into oncoming traffic is worse than no light at all.
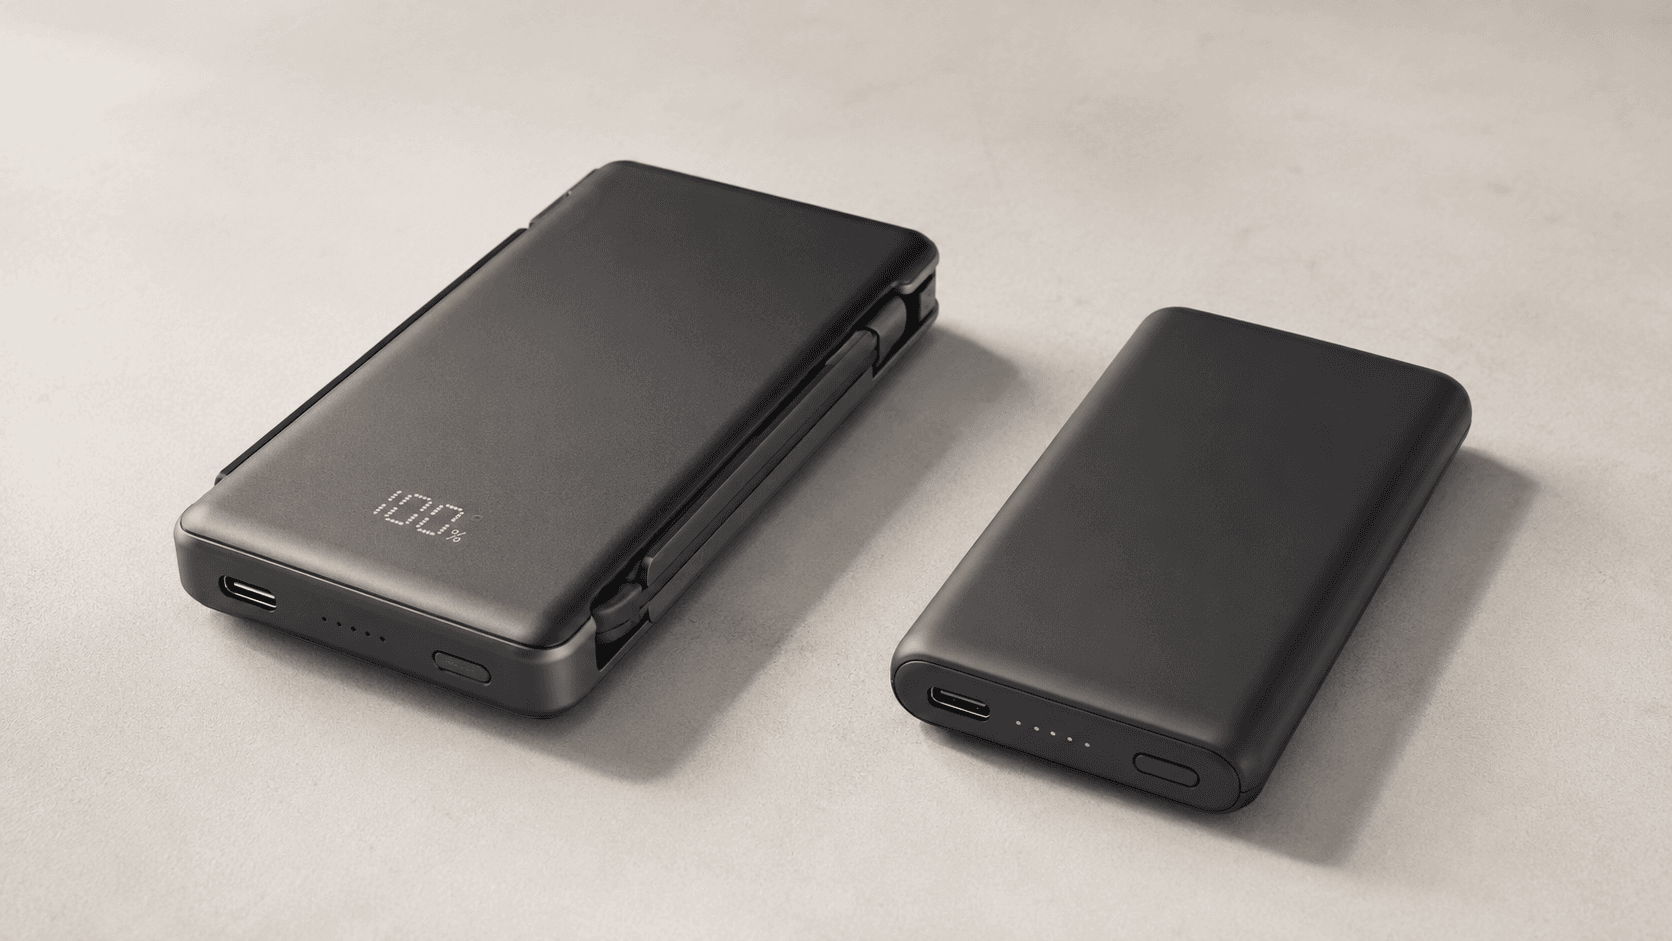
For ebikes and scooters, measure your idle lighting draw with a multimeter before a long shift. If the draw is higher than expected, switch lower-priority lights to a USB power bank rather than drawing from the main battery.
Wrap-Up
The priority is simple: rear first, plate next, sides and motion third, then forward range. Do not spend $150 on an auxiliary pod kit before you have a working tail light and a legal plate lamp. The basics protect you more per dollar than any premium forward lighting kit.
Every article in this cluster links back here and to each other. If you are working through the upgrade path, start with the tail light review and go from there. Each piece has specific product picks across budget, mid-range, and premium with honest notes on limitations.
Stay visible, stay legal, and keep earning.