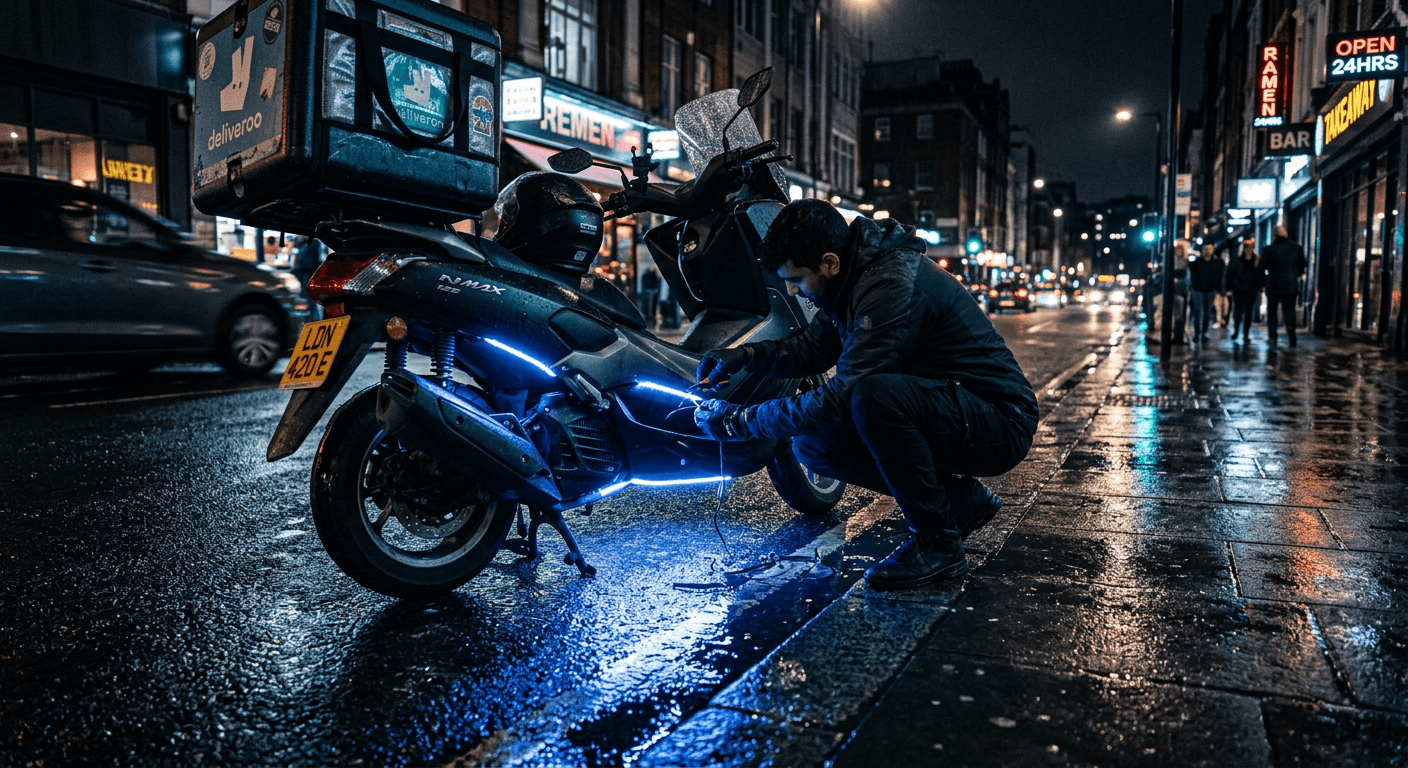
Motorcycle Strip Lights – Install Guide for Delivery Riders
How to install motorcycle LED strip lights and underglow. I will cover kit picks, wiring, legal rules, and weatherproofing for delivery riders.
How to Install Motorcycle Strip Lights for Delivery Riders
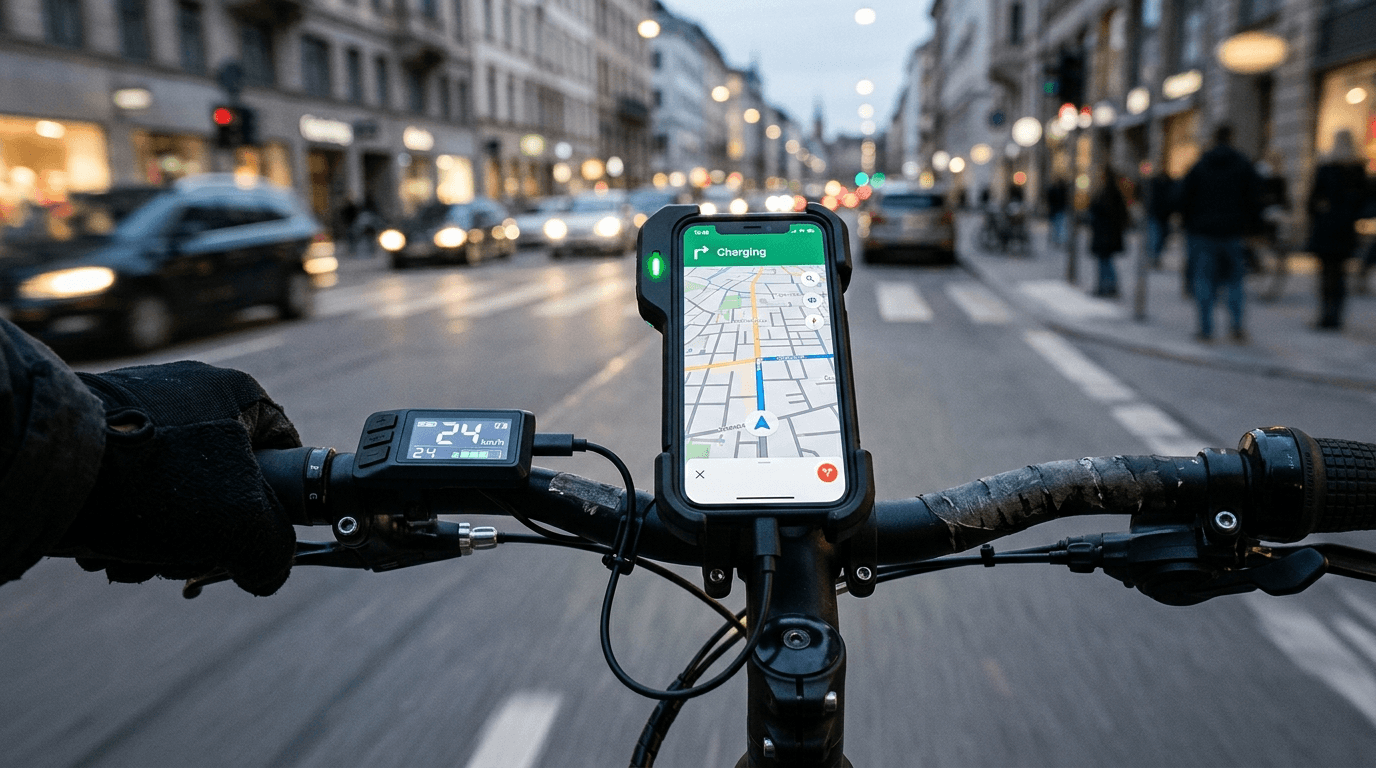
Strip lights are one of the cheapest visibility upgrades you can make on a delivery bike. A well-routed underglow or frame accent strip creates side visibility that your stock headlight and tail light cannot provide the kind that gets noticed by cross-traffic before you are already in the intersection. I have been running LED strips on my bikes for three years and this guide covers everything from choosing the right kit to getting it wired cleanly and keeping it working through a New York winter.
This is written for 12V motorcycle systems. If you ride a scooter or ebike with a different voltage, check your system spec before buying anything.
Why Strip Lights Are Worth Adding
The main reason I run underglow is side visibility. When a driver pulls out of a side street, their eyes catch motion and light in their peripheral vision before they process your headlight. A strip running along the bottom of the frame creates a light source at road level that reads differently to a driver than a single headlight beam at eye level. It does not replace proper front and rear lighting. It adds a layer on top of it.
The second reason is simpler: customers notice a clean, well-lit bike. It is a small thing but in this job small things add up.
Quick Picks: Best Motorcycle Strip Light Kits
| Product | Price | IP Rating | Best For | Buy From |
| Nilight 4pc RGB Rock Light Kit | $25-$40 | IP67 | Budget entry, easy remote control | Amazon |
| Govee Underglow Kit (Bluetooth) | $40-$70 | IP65 | App control, color variety | Amazon |
| OPT7 Aura Pro Underglow Kit | $120-$180 | IP67 | Long-lasting automotive-grade install | Amazon / OPT7 direct |
| Xkglow XK-GLOW-MC Kit | $60-$100 | IP67 | App control with motorcycle-specific mounts | Amazon / Cycle Gear |
Check retailer pages for current pricing before buying. These change regularly.
Choosing the Right Kit
Voltage and Compatibility
Motorcycle electrical systems run at 12V. Buy 12V-rated strips only. Some listings are technically compatible but check the spec sheet, not just the title, before ordering.
IP Rating
IP67 is my minimum for anything that stays on the bike permanently. IP65 handles splash but not the kind of water that comes through a pothole at 30mph or pressure washing at the end of a shift. If a kit only lists IP65, treat it as a dry-weather option.
Single Color vs RGB
Single color white or amber is simpler to wire, draws less current, and is the better choice if visibility is the goal. RGB adds a controller or app, more wiring, and more potential failure points. It is worth it if you want brake trigger integration or color-switchable modes, but not for a rider who just wants reliable side visibility with minimal fuss.
Cuttable Strips
Most kits include cuttable strips marked at intervals. Useful for custom lengths, but make sure the cut points are clearly marked and reseal the cut ends properly with silicone or heat shrink to stop moisture wicking in.
Honest Limitations by Kit
Nilight 4pc RGB Kit: around $25 to $40 on Amazon. The remote control is simple and the IP67 rating is solid for the price. The one thing I don't love: the adhesive backing is thin and fails in summer heat on a dark-painted frame. Budget for a roll of 3M VHB tape when you order this and use it over the factory adhesive from the start.
Govee Underglow Kit: around $40 to $70 on Amazon. The Bluetooth app is genuinely useful for switching modes and the color accuracy is good. The honest limitation is the IP65 rating. It is fine for fair-weather riding but I would not trust it through a wet NYC winter without extra sealing at every connector.
OPT7 Aura Pro: around $120 to $180, available on Amazon and direct from OPT7. Automotive-grade connectors, heavier wire gauge, and adhesive that actually holds through heat and vibration. This is the kit for riders who want to install once and not revisit it. The one thing I don't love: the controller box is larger than budget options and finding a dry, hidden mount point on a small motorcycle takes some creativity.
Xkglow XK-GLOW-MC: around $60 to $100 on Amazon and at Cycle Gear. Motorcycle-specific design means the mount hardware fits frame rails more cleanly than a generic car kit. App control works well. The limitation is that the app can lose connection intermittently when the phone is pocketed during a run. Minor, but worth knowing.
Tools and Parts You Need Before Starting
- Multimeter for voltage checks and continuity testing
- Wire strippers and a crimper
- Inline fuse holder and fuse sized to your kit (usually 5A to 10A)
- Heat shrink tubing and self-fusing silicone tape
- Zip ties and plastic mounting clips
- Rubbing alcohol and a lint-free cloth for surface prep
- Extra 3M VHB tape if the kit adhesive is lightweight
- Dielectric grease for all connectors
Step-by-Step Install: Basic Single-Color Underglow
Step 1: Plan the Layout Before You Stick Anything Down
Use masking tape to dry-fit the strips along your planned route. Typical positions are under the tank, along the lower frame rails, and beneath the rear fender. Keep strips at least 2 to 3 inches from exhaust pipes and well clear of the chain and any moving parts.
Mark your cable run from each strip back to the controller or battery. The route should avoid pinch points and stay clear of areas that flex when the suspension moves.
Step 2: Prep the Mounting Surfaces
Wipe every surface with isopropyl alcohol and let it dry fully. Adhesive sticks poorly to painted surfaces that have road grime or wax on them. For metal frame rails, scuffing the surface lightly with fine sandpaper before cleaning improves adhesion.
On cold days, warm the mounting surface with a heat gun or hair dryer for 60 seconds before pressing the strip. Cold surfaces are the fastest way to get adhesive failure within the first week.
Step 3: Mount the Strips
Peel the adhesive backing and press each strip firmly for 30 to 60 seconds. Then supplement with zip tie clips or plastic mounting clips at 6 to 8 inch intervals. Do not rely on adhesive alone on a delivery bike that goes over city potholes all day. The clips are cheap insurance.
For metal frame sections where adhesive cannot bond reliably, use small stainless hose clamps.
Step 4: Wire the Power Circuit
Route the positive lead from the strip or controller to an inline fuse holder placed as close to the battery positive terminal as possible. The fuse value should match the kit's current draw spec, usually 5A to 10A for most LED strip kits.
Ground the negative wire directly to the frame with a ring terminal bolted to bare metal. Scrape any paint from the contact point until the metal is shiny. A bad ground causes flicker and dim output. This step is where most installation problems start.
Step 5: Ignition-Switched Power vs Constant Power
Wiring to a constant power source is simpler but means the strips stay on after you pull the key unless you use the controller's off switch. Forget once and you come back to a dead battery.
Wiring to an ignition-switched source means the strips come on and off with the bike. To do this, tap into a fused accessory circuit at the fuse box using a fuse tap, and run that feed to the relay coil. Wire the strip positive through the relay contacts with its own inline fuse. A small standard automotive relay handles this cleanly and costs under $5.
I always wire to ignition-switched power on delivery bikes. One less thing to remember at the end of a long shift.
Step 6: Test Before Final Securing
Reconnect the battery negative, turn the key on, and test every strip and function before you tighten any zip ties or press any final adhesive joints. Check each color band on RGB kits. Check the controller responds.
Once everything lights correctly, do the final tightening, keep slack in the wiring near joints so the harness does not pull tight when the frame flexes, and seal every connector and exposed splice with dielectric grease, then heat shrink, then a wrap of self-fusing silicone tape at any point that will see direct water exposure.
Optional: Brake or Turn Trigger Integration
To connect strip brightness to your brake light, tap the brake light positive wire and run it to the controller's trigger input. Use a diode in line to prevent back-feeding into the bike's electronics.
For RGB controllers with turn signal integration, follow the controller's wiring diagram. Keep the strip circuit isolated from the main turn signal circuit so a strip failure does not affect your legal turn signals.
Troubleshooting
Strips won't turn on: Check the inline fuse first. It is the most common culprit after a first power-up. If the fuse is fine, use a multimeter to confirm 12V at the controller input with the key on. If you have voltage at the battery but not at the controller, the issue is in the wiring between the two.
Flickering or dim output: This is almost always a bad ground. Clean the ground contact point back to bare metal and re-torque the ring terminal. Dim output on longer runs can also indicate voltage drop. Step up to a heavier wire gauge for the power feed or shorten the run if possible.
Adhesive failing: Switch to 3M VHB automotive tape and supplement with mechanical clips. No strip kit adhesive holds indefinitely on a painted metal surface that gets hot, vibrates constantly, and goes through wet weather. Mechanical retention is not optional on a delivery bike.
Water inside a strip: Once moisture is inside the LED strip itself the unit is done. Seal and replace. The cost of a new strip is less than chasing electrical faults caused by corroded diodes inside a compromised strip.
Legal Rules for US Delivery Riders
Most US states prohibit blue and red lighting on non-emergency vehicles. Some states also restrict rapid flashing patterns that resemble emergency strobes. New York is one of the stricter states. Keep your strips in white, amber, or green steady modes on the road.
Do not wire strips to replace or supplement your DOT-required brake or turn signal lighting. An LED strip is an accent light, not a legal signaling device. If a strip failure kills your brake light signal you have a serious problem. Keep those circuits completely separate.
Keep underglow low and close to the frame so it reads as an accent, not a beacon. Turn off RGB mode and run steady white or amber when you are on the road. Save the color show for when you are parked.
Maintenance
Check zip ties and adhesion every two weeks for the first month. City potholes vibrate hardware loose faster than you expect. After the first wet ride, inspect every connector for water intrusion and re-apply dielectric grease anywhere that looks dry.
Once the install is bedded in, a quick walk-around before each night shift takes 30 seconds and catches 90% of problems before they become mid-shift failures.
Wrap-Up
Strip lights are not a safety essential on their own but they are one of the cheapest ways to add a visibility layer that your stock lighting does not cover. Buy a kit with IP67 rating, wire it to ignition-switched power, use mechanical clips alongside the adhesive, and seal every connector properly.
The Nilight kit is the right starting point on a tight budget. The OPT7 Aura is the right pick if you want to install once and not think about it again. The Xkglow is worth considering if clean motorcycle-specific mounting matters to you.
For how wheel lights pair with strip lights to give you full 360-degree side and motion visibility, see my Motorcycle Wheel Lights - Best Picks for Delivery Riders