Best Motorcycle Tail Lights for Delivery Riders – LED Picks
The tail light is your first line of defence from behind. I will review the best LED motorcycle tail light upgrades for delivery riders in the USA.
Best Motorcycle Tail Lights for Delivery Riders
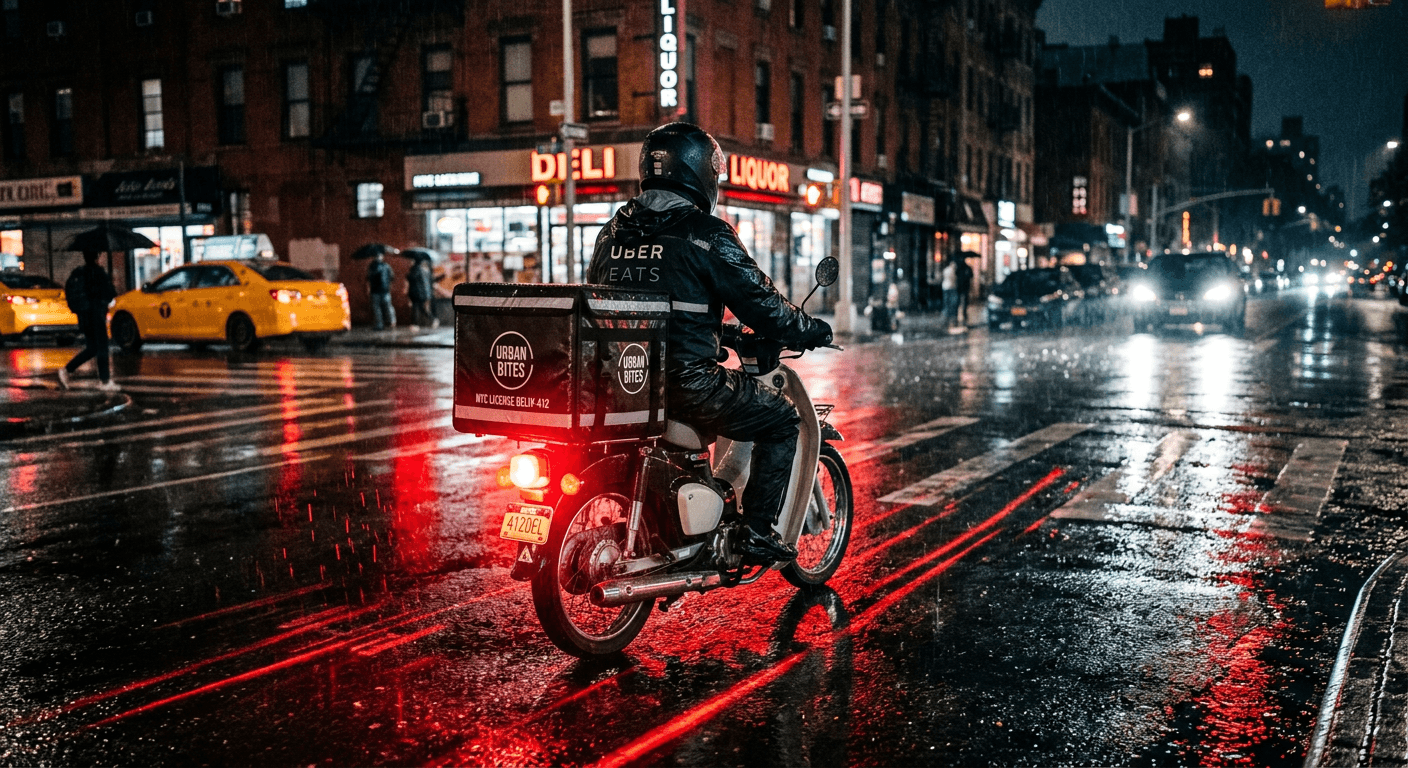
The tail light is the most important piece of lighting on a delivery bike. Not the headlight, not the auxiliaries. The tail light. Cars following too closely at night are a constant reality of this job, and the difference between a driver who sees you braking in time and one who does not comes down to how bright and how fast your rear light responds. I have ridden behind my own bike with a partner at the controls and the jump between a stock filament tail light and a proper LED brake unit is significant enough that I upgraded every bike I ride within the first season.
This review covers the three best LED tail light options available now across budget, mid-range, and premium, with comparison table, honest limitations on each, and wiring notes so you know what you are getting into before you buy.
Quick Picks: Best Motorcycle Tail Lights
| Product | Price | Fitment | IP Rating | Buy From |
| Keenso Universal LED Tail Light | $25-$40 | Universal splice | IP65 | Amazon |
| TST Industries LED Integrated Tail Light | $70-$100 | Universal with adapter | IP67 | TST Industries / Amazon |
| Kuryakyn 4079 LED Tail Light Assembly | $120-$140 | Bike-specific OEM | IP67 | RevZilla / Cycle Gear / Amazon |
Check each retailer for current pricing and model-specific fitment compatibility before ordering.
Why the Tail Light Comes First
I upgraded my tail light before I touched anything else on the front of my bike. The reasoning is simple: most delivery riders are rear-ended or nearly rear-ended far more often than they are hit from the front. You stop frequently, often without much warning distance, and cars in urban traffic are not maintaining the following distances they should be.
A proper LED tail light improves rear visibility in two specific ways. First, the brake signal steps up from running light to brake brightness faster and with more contrast than a stock filament bulb. A halogen bulb takes a small fraction of a second to reach full brightness. An LED is effectively instant. At 30mph that delay translates to real stopping distance. Second, a good LED unit throws more concentrated light at the drivers behind you rather than scattering it sideways toward the pavement.
I tested mine with a partner standing 80 feet back calling out visibility while I tapped the brake. The LED unit was visible and clear at that distance. The stock filament on the same bike was noticeably dimmer and slower to register.
What to Look for Before You Buy
Brightness and brake contrast. A tail light has two brightness states: running and brake. What matters is the ratio between them. A unit that goes from dim running to clearly brighter brake flash is what catches a driver's eye. Raw lumen numbers alone do not tell you this. Look for reviews that describe the brake step-up specifically.
Beam pattern. You want the brake signal aimed at the traffic behind you, not scattered at the road surface. Integrated units with dedicated LED arrays for the brake section do this better than a single shared element.
IP rating. IP67 minimum for a delivery bike. Wet roads, pressure washing at the end of a shift, and heavy rain during peak windows are all real conditions. IP65 handles light rain but starts failing with repeated heavy exposure over months.
Fitment type. Universal units require splicing into your existing wiring. OEM-fit units match your bike's mounting points and connector. Universal is cheaper and works on more bikes. OEM-fit requires a compatibility check but installs faster.
CAN bus and hyper flash. Many modern bikes use a CAN bus system that detects the lower current draw of an LED and throws a fault code or causes hyper flash on the turn signals. If your bike is less than 10 years old, check whether you need a load resistor or an LED-compatible flasher module before buying. Neither is expensive but it is an extra step that budget listings rarely mention.
The Products
Keenso Universal LED Tail Light: Best Budget Pick
Price: $25 to $40 on Amazon.
A universal unit with an SMD LED array. The running light is visible and the brake step-up is a clear improvement over a stock filament bulb on small commuter bikes. IP65 rated. The housing is ABS plastic with a rubber gasket seal. The smoked lens version looks clean but reduces daytime visibility slightly compared to a clear lens. Worth considering if your route involves a lot of low-angle afternoon sun.
Installation requires splicing into your running light and brake wires and running a ground to the chassis. It is a 45 to 90 minute job with basic tools. Most delivery riders on simple wiring harnesses can do it without help.
The one thing I don't love: the IP65 rating is the limiting factor. In my experience these units handle a season of normal wet weather riding fine, but after two winters of heavy use the seal starts to weep and moisture gets into the lens. Budget for replacement after 18 to 24 months of hard use.
TST Industries LED Integrated Tail Light: Best All-Rounder
Price: $70 to $100, available direct from TST Industries and on Amazon.
TST builds dedicated motorcycle lighting and it shows. The brake array on this unit produces a concentrated, high-contrast flash that is clearly readable at distance. IP67 rated with an aluminum back plate that handles heat and vibration better than a plastic shell. Several models include a brake pulse mode that triggers a brief flash sequence on initial brake application before settling to steady bright. This is legal in most states and noticeably more effective at grabbing attention than a steady brake light alone.
Some models require an inline resistor or an LED-compatible flasher if your bike has a shared brake and turn signal circuit. TST include clear instructions and their customer support is genuinely useful. I have called them to confirm fitment before ordering and got a straight answer.
The one thing I don't love: the brake pulse mode that makes this unit worth buying is on specific models only. Check the product page carefully and confirm the unit you are ordering includes it. The base models without pulse mode are a solid tail light but less differentiated from a standard LED swap at this price.
Kuryakyn 4079 LED Tail Light Assembly: Best for Plug-and-Play
Price: $120 to $140, available at RevZilla, Cycle Gear, and Amazon.
This is the pick for riders who want to swap in 20 to 30 minutes without touching the wiring harness. The Kuryakyn 4079 is designed to drop into OEM mounting positions on a range of cruisers and standard bikes. The LED module produces around 500 lumens peak on brake, the beam is directional and concentrated, and the build quality is OEM-grade. IP67 rated with sealed connectors.
Buying through RevZilla or Cycle Gear is worth considering here. Both stock this unit and their fitment guides confirm compatibility by bike model before you order, which matters when a $140 part needs to be returned.
The one thing I don't love: it is model-specific. If your bike is not on the compatibility list you are looking at one of the other two picks. Check the fitment chart before ordering.
Comparison Table
| Feature | Keenso | TST Industries | Kuryakyn 4079 |
| Price | $25-$40 | $70-$100 | $120-$140 |
| IP Rating | IP65 | IP67 | IP67 |
| Housing | ABS plastic | Aluminum back | OEM-grade |
| Brake contrast | Good | Strong | Strong |
| Brake pulse mode | No | Select models | No |
| Install type | Universal splice | Universal / adapter | OEM plug-and-play |
| Buy from | Amazon | TST direct / Amazon | RevZilla / Cycle Gear / Amazon |
Installation Notes
Universal splice units (Keenso): Turn off the ignition. Identify your running light wire, brake wire, and ground. Connect the new unit's wires using butt connectors with heat shrink. Test before final mounting. If you see hyper flash on the turn signals after install, add an LED-compatible flasher module. If the brake does not step up in brightness, confirm you are on the brake wire not the running wire. These are two distinct circuits on most bikes.
TST Industries units: Follow the included wiring diagram. Most models use a connector that matches common aftermarket harnesses. If your bike throws a fault code after install, fit the inline resistor TST recommend for your model.
Kuryakyn 4079: Disconnect the old unit, plug in the new one using the stock harness connector, mount, and test. That is the full install on supported bikes. Confirm ground continuity with a multimeter if the light behaves unexpectedly after connection.
On any install, do a night test before you call it done. Have someone stand 60 to 80 feet back and confirm the brake step-up is clearly visible and the running light stays on properly. A tail light that looks fine in the daylight can be aimed wrong or underpowered at distance in actual riding conditions.
Legal Notes
US stop lamp requirements say the brake must be clearly visible from a minimum distance at night, must step up noticeably from the running light, and must be activated by the brake control. Constant strobe modes not tied to braking are illegal in most states. Brake-activated pulse modes that settle to steady are generally compliant but check your state code if you are unsure.
Do not use a tinted or colored lens that shifts the light away from red. Keep the plate light functional when you swap the tail unit. Many integrated tail lights do not include plate illumination and you will need a separate plate lamp. See the Motorcycle Number Plate Light - Best LED Picks for Delivery for paired upgrade options.
Maintenance
Inspect the connector monthly and apply dielectric grease to the contacts. Check the mounting hardware after the first two weeks on a new install. Vibration loosens hardware faster than most riders expect.
If you see flicker after a period of normal use, start with the ground connection. Clean it back to bare metal and re-torque the ring terminal. If the brake intensity weakens, check that the brake feed wire is still firmly connected and that no water has tracked into the connector.
For plastic-backed units like the Keenso, run a bead of silicone around the lens edge at the start of each wet season to extend the seal life.
Which One to Buy
If you want the cheapest meaningful upgrade and you are comfortable splicing two wires, the Keenso is the answer. Plan to replace it after a couple of winters of heavy use.
If you want a unit that handles serious wet weather, includes a brake pulse mode that actually improves driver reaction, and you are willing to spend in the $70 to $100 range, the TST Industries unit is the best all-rounder on this list.
If your bike is on the Kuryakyn 4079 compatibility list and you want a 30-minute plug-and-play install at OEM quality, the Kuryakyn is worth the price. Buy it through RevZilla or Cycle Gear to get their fitment confirmation before it ships.
Replace your tail light before your next night shift if the current one is dim, flickering, or stock halogen. This is the one upgrade that directly reduces the risk of being rear-ended, and every shift you delay it is a shift you are more exposed than you need to be.
Wrap-Up
Rear visibility is the priority. Get the tail light sorted first, then work through the rest of the lighting upgrades. Pair this swap with an updated plate light at the same time since you already have the rear of the bike apart.
For the full lighting upgrade sequence and links to every review on the site, see the Best Motorcycle Lights for Delivery Riders - Night Guide.