How To Install Motorcycle Strip Lights (LED Strip Lights For Motorcycle & Underglow) : A Delivery Rider’s Step‑By‑Step Guide
We ride nights. We move hot food and essential packages across city streets that never sleep. Adding motorcycle strip lights is one of the fastest upgrades we can make to increase visibility and add a low profile style that customers notice. In this guide we combine real product picks with hands on install tips so you can pick a kit, fit it, and keep it working during a shift. We focus on 12V kits that survive vibration and weather and we show wiring, routing, and the legal gotchas you need to know.
Why Add LED Strip Lights To Your Delivery Bike
Why Visibility And Style Matter For Delivery Riders
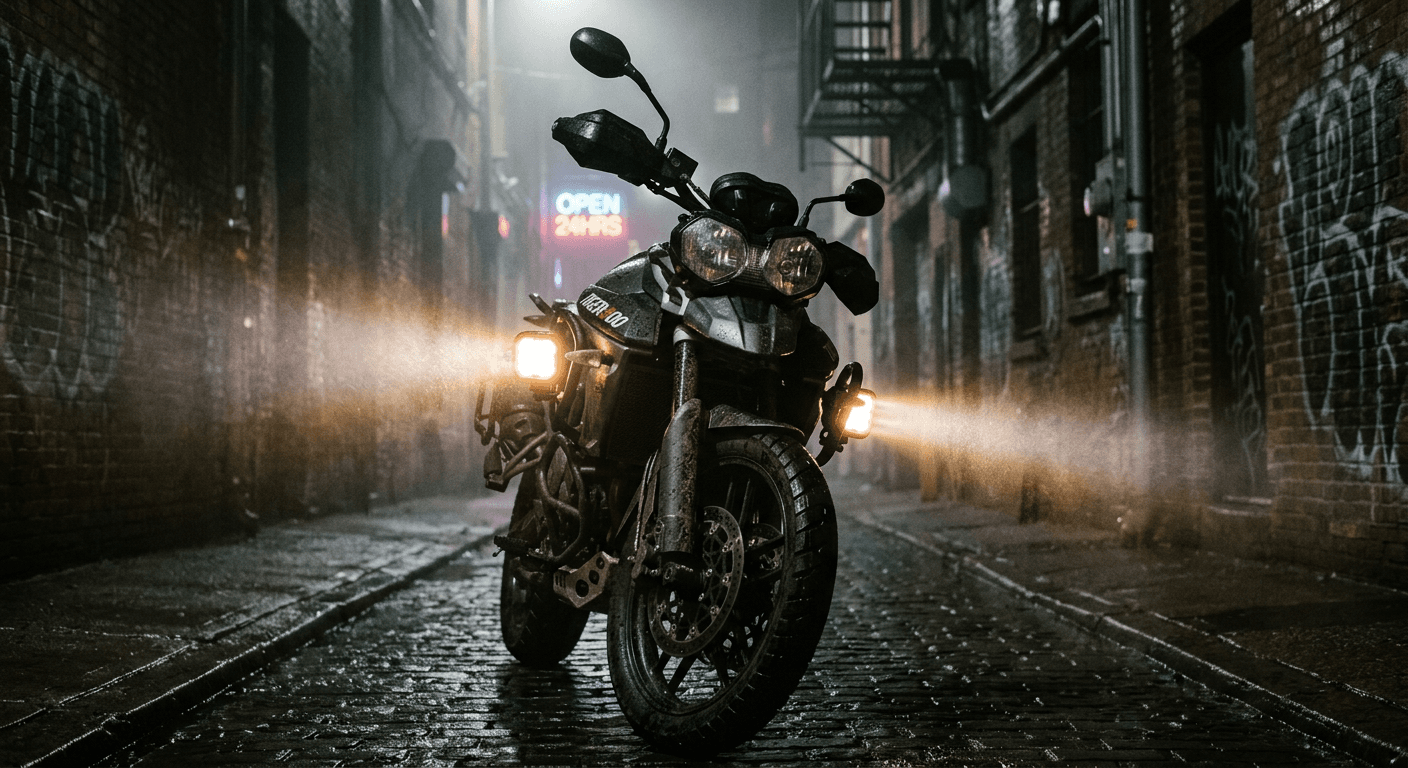
We work nights and bad weather. That means being noticed by drivers, cyclists, and pedestrians matters. Strip lights make our bike pop in peripheral vision so cars give us extra space. They are not a replacement for DOT lights. They are an accent that reduces close calls when cross traffic or drivers glance over.
How Underglow Improves Nighttime Safety And Customer Perception
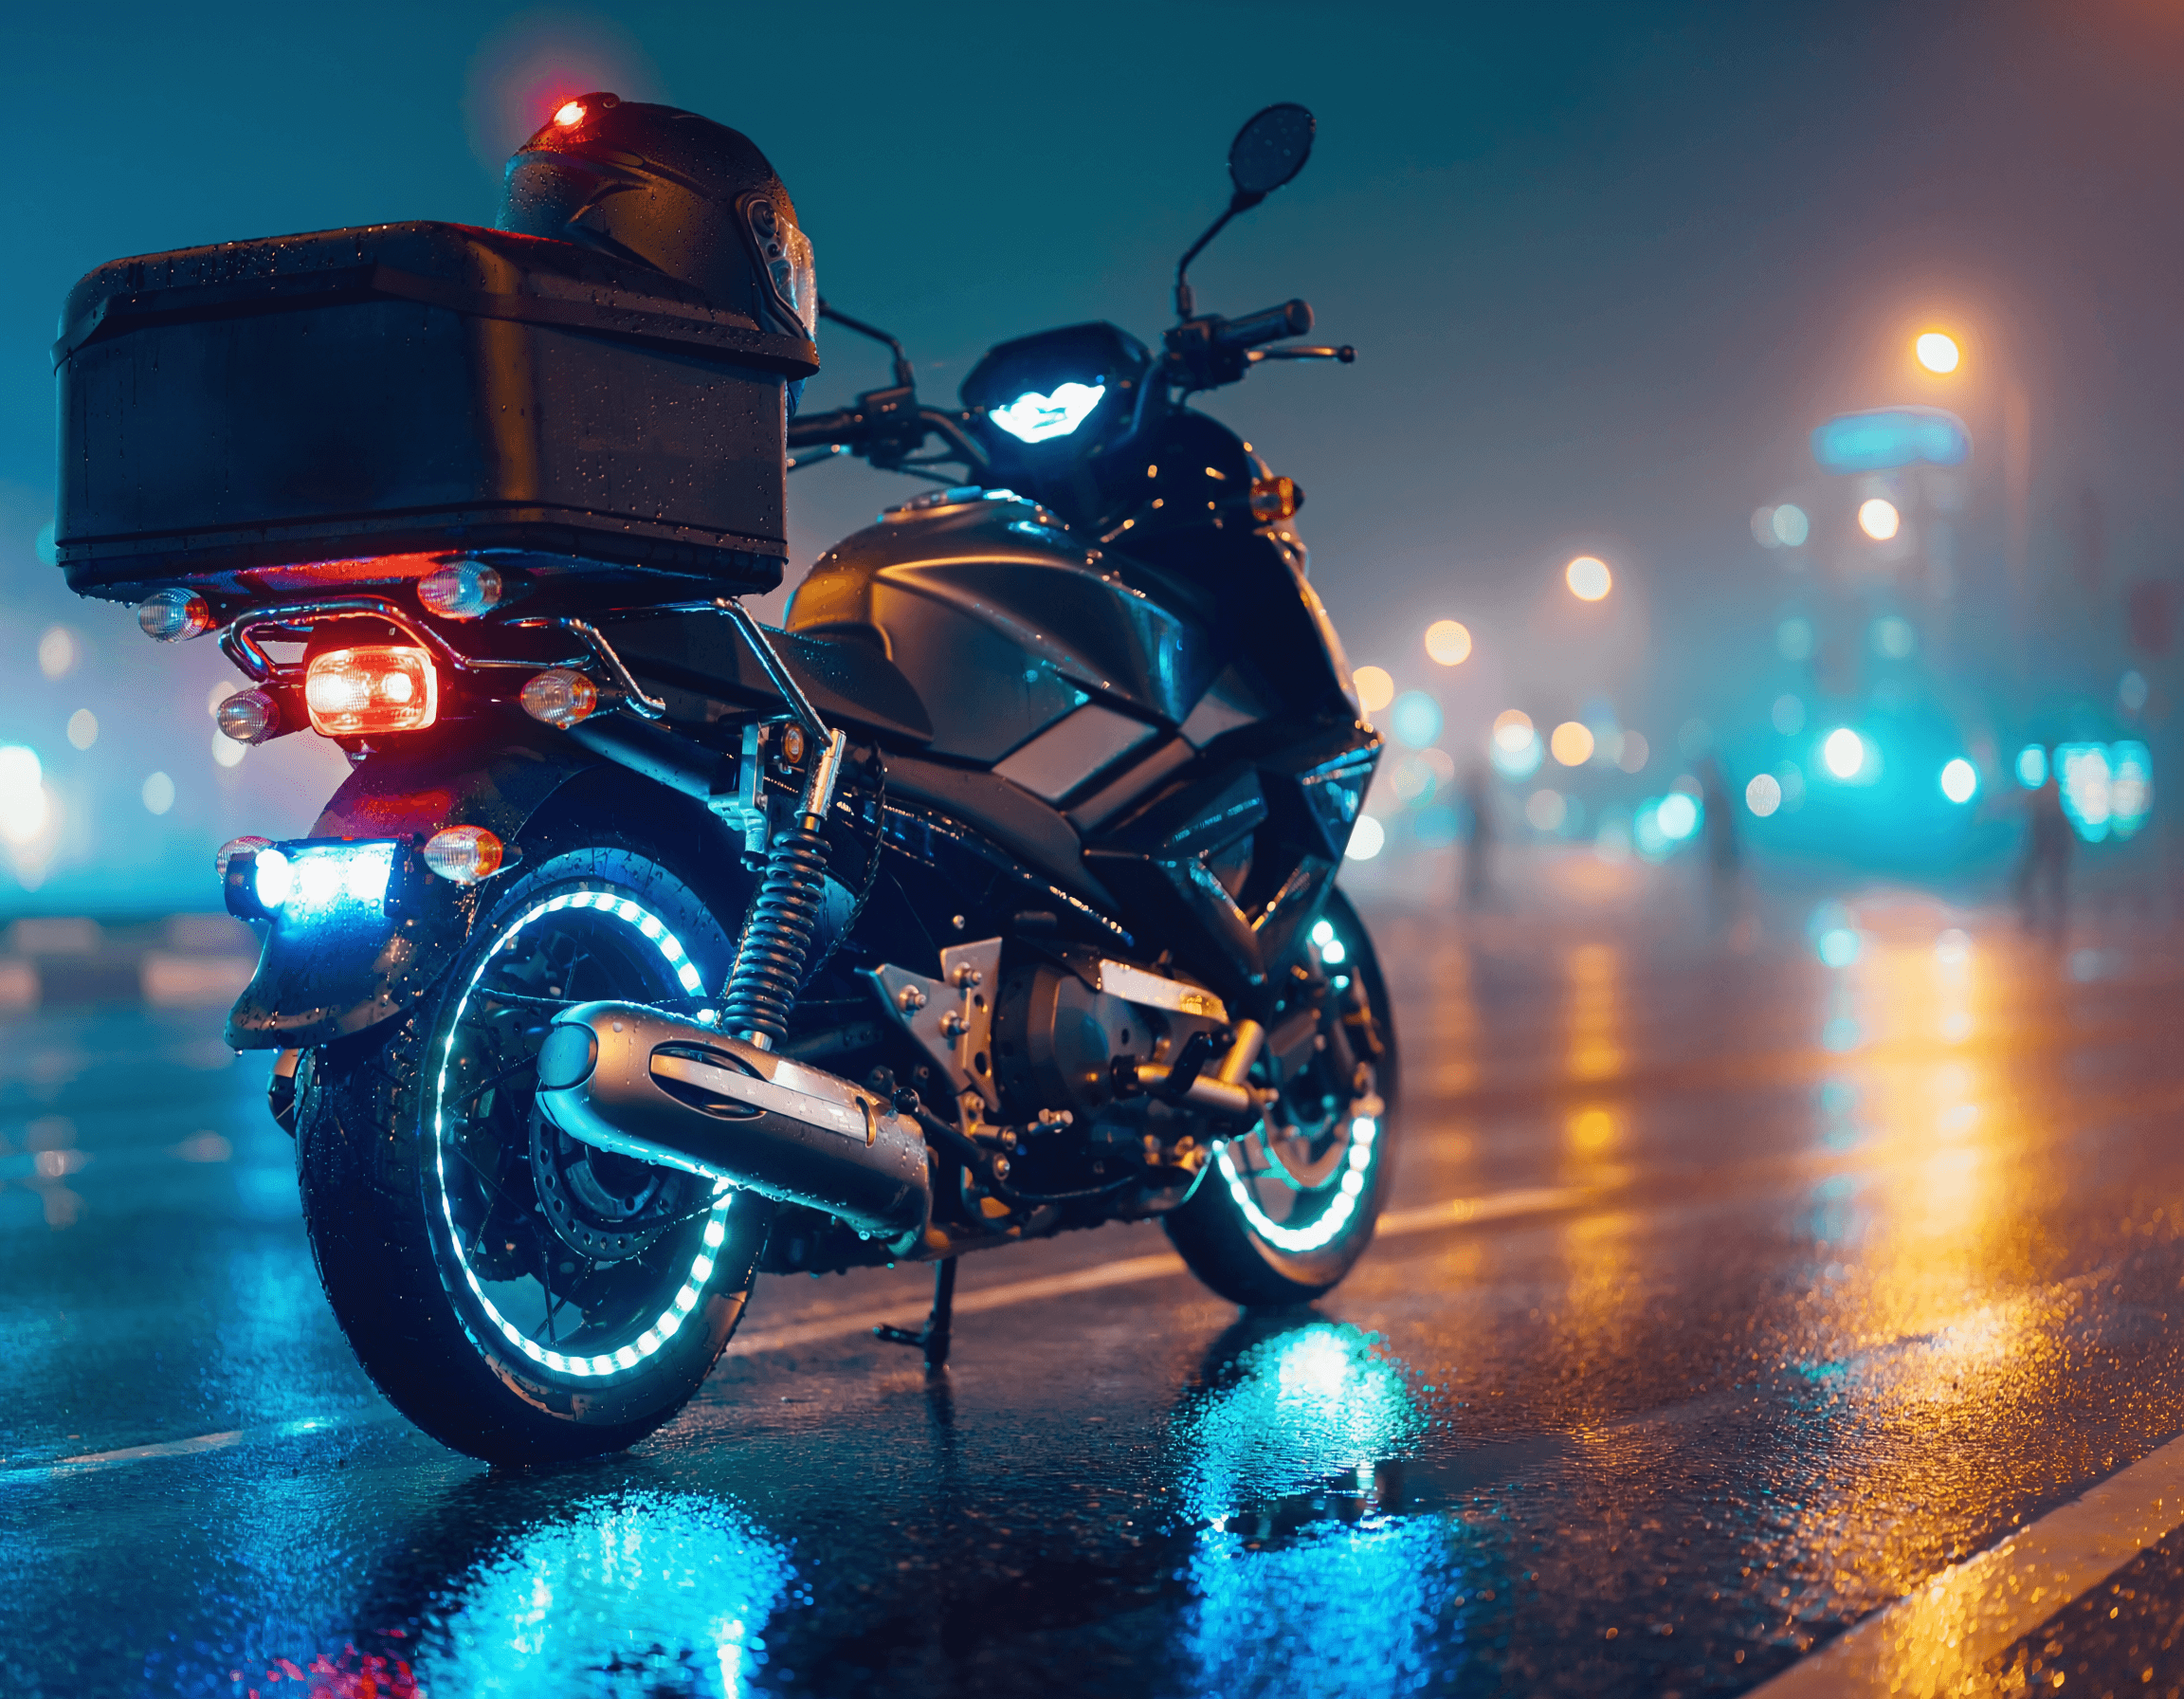
Underglow helps in two ways. First safety. A low glimmer under the frame increases side visibility at intersections. Second perception. A clean underglow signals professionalism. Customers notice a safe well lit rider and tend to tip better. It is subtle if you keep color and intensity controlled.
Common Use Cases: Side Accent, Underglow, Brake/Turn Integration
We usually choose one of these setups:
- Side accent along frame rails for extra lateral visibility.
- Full underglow under the tank and belly for a continuous halo.
- Brake or turn integration where a controller triggers a brighter strip for braking or a color shift for turn signals.
Each has different wiring and mounting needs which we cover later.
How To Choose The Right LED Strip Lights For Motorcycle Use
We start with quick picks so you can choose and move on to install.
| Product | Price | Waterproof | One Line Reason to Buy |
| Nilight 4Pcs RGB LED Rock Lights Kit (Vehicle Underglow) | $25-$40 | IP67 | Budget friendly, simple remote control and durable adhesive for frame mounting |
| Govee Car LED Interior & Underglow Kit (Bluetooth app) | $40-$70 | IP65 | App control plus music modes and long runs make it versatile for riders who want color control |
| OPT7 Aura LED Underbody Kit (Professional grade) | $120-$180 | IP67 | Higher build quality, strong waterproofing, and automotive connectors for lasting installs |
Key Specs To Compare: Voltage, IP Rating, Lumens, Color Options
- Voltage: Motorcycle electrical systems are 12V. Buy 12V rated strips only. Some nominal 12V product listings work off the bike but check specs.
- IP Rating: IP67 or higher is ideal. IP65 is okay for splash but not immersion. We prefer IP67 for pothole splash and pressure washing at the end of a shift.
- Lumens: Look for even diffusion not just raw lumens. Too bright hotspots blind drivers. For underglow aim for moderate output.
- Color options: Single color white improves visibility. RGB gives style and brake triggers but adds wiring complexity.
Shopper Checklist: Single Color vs RGB, Remote/Controller, Cuttable Strips
- Single color white: simpler wiring, lower current, better for safety focused riders.
- RGB: needs a controller or app. Good for style and brake/turn triggers.
- Remote/controller: pick kits with a discrete controller box with waterproof connectors.
- Cuttable strips: handy for custom lengths but make sure cut points are clear and re sealed properly.
Best Options For Delivery Riders On Amazon (Budget, Midrange, Durable), What To Expect
- Budget: Nilight 4Pcs kits. Cheap, gets the job done, remote included. Expect adhesive quality to vary.
- Midrange: Govee car kits. Better app and color control. Connector quality is improved but still watch wire routing.
- Durable: OPT7 or similar professional kits. Expect proper automotive connectors, thicker wires, and better adhesives suited to vibration.
For each kit we discuss price, LED color options, waterproofing, power source, mounting method, and one honest limitation in the product listing details below.
Tools, Parts, And Prep You’ll Need Before Installing
Essential Tools And Materials (Wire, Fuse, Zip Ties, Adhesive Pads, Multimeter)
- Multimeter for voltage and continuity checks.
- Wire strippers and crimpers.
- Inline fuse holder and fuse (5A to 10A depending on kit current).
- Heat shrink, electrical tape, dielectric grease.
- Zip ties and nylon mounting clips or stainless clamps.
- Rubbing alcohol and lint free cloth for surface prep.
- Extra 3M VHB tape if kit adhesive is light.
Prep Steps: Cleaning Mounting Surfaces, Planning Wire Routes, Battery Safety
- Park on level ground and remove key. Disconnect negative battery terminal before cutting or splicing.
- Dry fit strips with masking tape. Map cable runs along frame rails and under the seat. Avoid exhaust, chain, and moving parts.
- Clean mounting areas with isopropyl alcohol. Adhesive sticks poorly to oily or painted surfaces.
Estimating Installation Difficulty And Time For DIY Riders
We estimate 1 to 2 hours for a basic single color underglow. Add 30 to 60 minutes for RGB controller integration or brake trigger wiring. Difficulty is low if you can use basic hand tools and follow wiring diagrams.
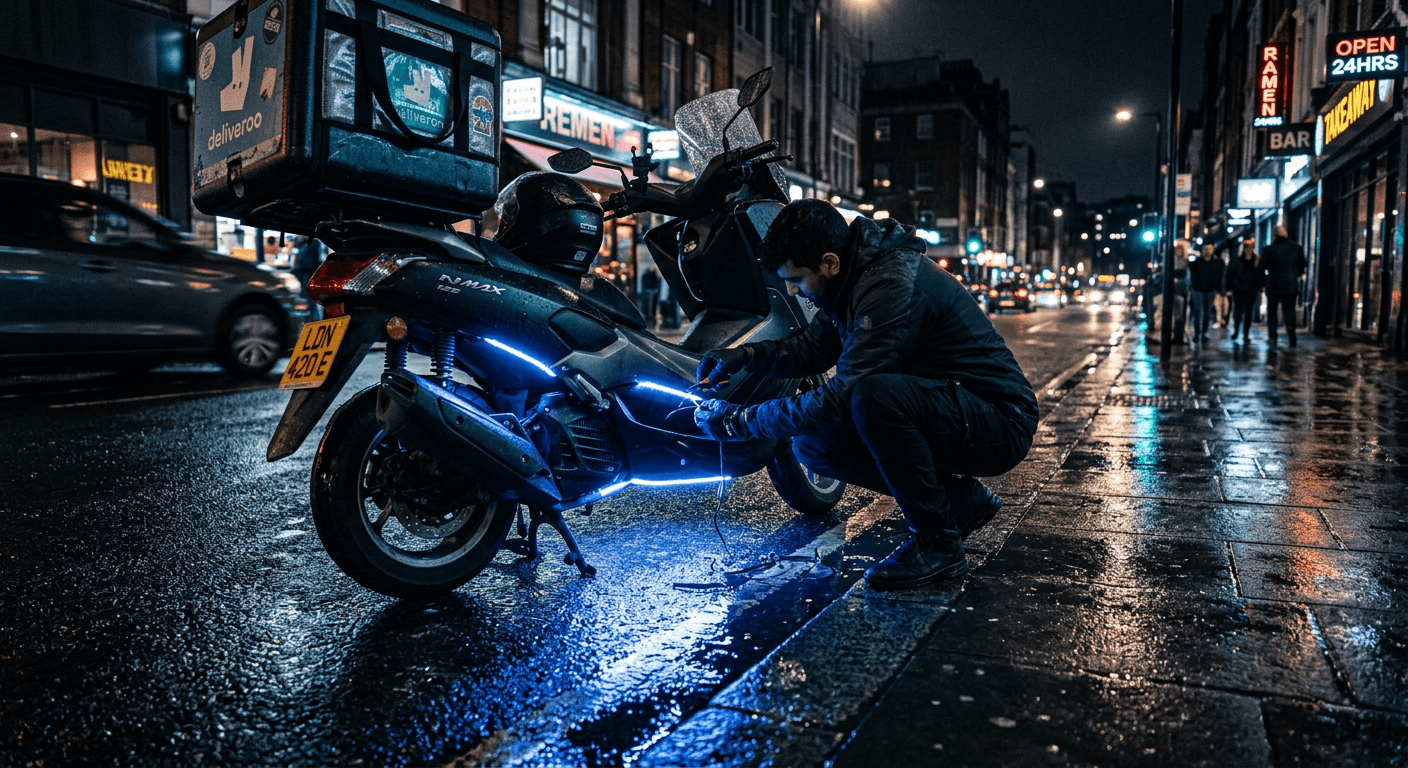
Step‑By‑Step Installation Guide (Basic Single‑Color Underglow)
Plan Layout And Dry‑Fit Strips, Where To Place Underglow And Accent Strips
- Lay strips with connectors facing the route to the battery or controller. Typical locations: under tank, along frame rails, beneath rear fender.
- Keep strips at least 2 to 3 inches from exhaust and moving parts. Use tape to hold strips in place while you step back and check symmetry.
Mount Strips Securely: Adhesive, Clips, And Recommended Locations
- Peel adhesive backing and press firmly for 30 to 60 seconds. Heat the tape with a hair dryer for better bond on cold days.
- Supplement adhesive with zip tie clamps or plastic mounting clips at 6 to 8 inch intervals for vibration protection.
- For metal frames use small stainless hose clamps where adhesive cannot reliably bond.
Wiring Basics: Power Source, Inline Fuse, Relay/Switch, Grounding
- Route the positive lead from the controller or strip to an inline fuse holder placed close to the battery positive terminal. Use a 5A to 10A fuse based on kit draw.
- Ground the negative directly to the frame using a ring terminal bolted to bare metal. Scrape paint until shiny metal shows for a reliable connection.
- If strips have a separate controller box follow its wiring: usually red = +12V input, black = ground, and connectors to the strips.
Connecting To Ignition Versus Constant Power, Pros, Cons, And How‑To
- Ignition switched power: Pros include automatic off when key is off protecting battery. Cons add a relay or tap at switched side of the ignition harness. To do this find a fused 12V ignition source under the fuse box or tap the accessory circuit with a fuse tap.
- Constant power: Simpler wiring. Must remember to turn lights off with the controller or risk draining the battery.
For ignition switching we use a small automotive relay triggered by the ignition feed. Wire relay coil to ignition switched 12V and coil ground to chassis. Wire the strip positive through the relay contacts with the inline fuse.
Testing Lighting, Securing Wires, And Final Weatherproofing Tips
- Re connect the battery negative terminal. Turn key on and test strips before final mounting. Check each strip and color band.
- Secure wires with zip ties. Keep slack near joints to avoid tension when the bike flexes.
- Use dielectric grease on connectors and wrap final splices with self fusing silicone tape. Heat shrink the solder joints then cover with silicone around connectors to avoid water ingress.
Optional: Adding Brake/Turn Trigger Or RGB Controller Integration
- Brake trigger: Tap the brake light positive or use a brake light trigger wire on the controller. Use a diode to avoid back feed into bike electronics.
- RGB controller: Follow the controller wiring. Most have separate power input and strip outputs. Connect strips in parallel to avoid voltage drop on long runs.
Troubleshooting, Common Issues, And Practical Fixes
Strip Won't Turn On: Quick Voltage And Connection Checks
- Check fuse at inline holder and main battery fuse. Replace if blown.
- Use a multimeter to verify 12V at the controller input with key on. If you have 12V at battery but none at controller the inline fuse or wiring is open.
- Verify polarity. Many strips are polarity protected but some do not have reverse protection.
Flicker Or Dim Light: Check Ground, Voltage Drop, And Connector Quality
- Flicker usually means a poor ground or loose connector. Tighten grounds and clean the mating surfaces.
- Dim lighting is often voltage drop. For runs over several feet run heavier gauge wire from the power source and keep parallel connections near the controller.
- Poor cheap connectors cause intermittent contact. Replace bullet connectors with sealed Deutsch style or waterproof butt connectors.
Adhesive Fails Or Water Ingress: Better Mounting And Sealing Methods
- Adhesive fails in heat: use mechanical clips or VHB tape rated for automotive use. Heat softens cheap 3M tape.
- Water ingress: protect all exposed splices with heat shrink and then silicone sealant. For connectors use IP67 rated inline connectors or solder and shrink plus silicone potting where possible.
Best Practices, Maintenance, And Small Upgrades For Delivery Use
Daily And Weekly Checks To Avoid Failures On The Road
- Quick check before each shift: power on, brief walk around, ensure strips light and controller responds.
- Weekly: check zip ties, re press any loose adhesive, and look for chafing on wires.
Upgrades To Consider: Higher IP Rating, Weatherproof Connectors, Fuse Protection
- Higher IP rated strips and Deutsch style connectors cost more but save time replacing failed runs during peak shifts.
- Add a resettable circuit breaker instead of single use fuses for easier field resets.
- Use thicker wire for the power run to reduce voltage drop and dimming at the far strip.
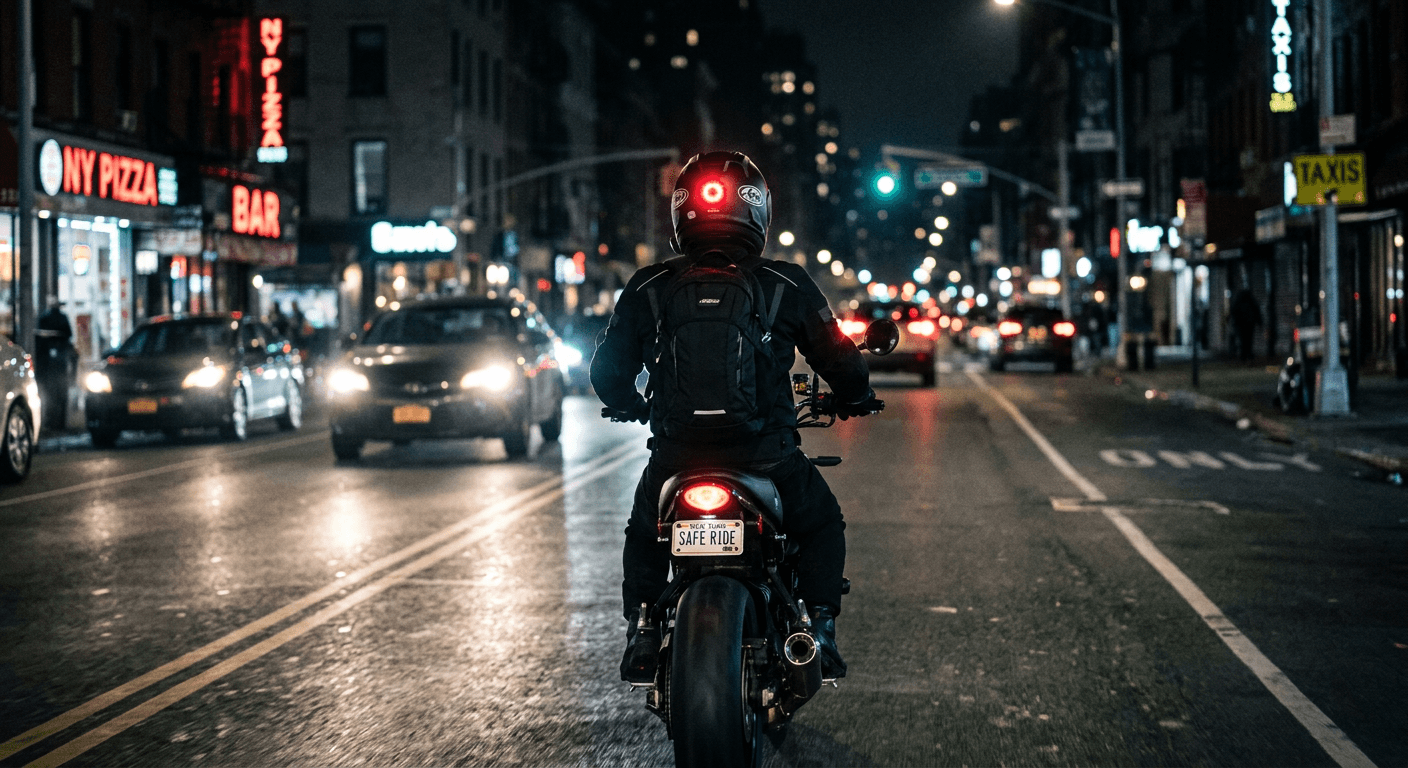
Safety Tips For Riding With Underglow (Visibility Without Distraction)
- Keep colors steady and avoid rapid flashing modes while moving. Flashing can distract other drivers and may be illegal.
- Prefer white or amber for side visibility. Reserve bold RGB colors for parked display if needed.
Legal Considerations For US Delivery Riders - What Colors And Placements To Avoid
State Laws And Common Restrictions (Blue/Red, Flashing Patterns, Interference With Signals)
- Many states restrict blue and red lighting that can be mistaken for emergency vehicles. Avoid those colors on the road.
- Flashing patterns that mimic emergency lights are frequently illegal.
- Do not wire strips to act as primary brake or turn lamps. They must not obscure or replace DOT required lighting.
Practical Compliance Tips: Mounting, Color Choices, And When To Turn Lights Off
- Keep underglow low and close to the frame so they act as accent lights and not primary beacons.
- Choose amber or white for on road use when possible. Use RGB only when parked or off public roads.
- Turn off or use static modes when directed by law enforcement.
Conclusion, Next Steps, And Where To Buy Reliable Kits
Quick Recap And How To Decide If A Kit Is Right For Your Bike
We recommend IP67 rated 12V kits if you ride frequently in wet conditions. If you want style and control pick an RGB kit with a quality controller. If you prioritize low fuss and battery safety wire to ignition or use a controller with an auto off.
Links To Recommended Amazon Kit Types And What To Look For (Durability, Warranty)
- Budget pick: look for the Nilight 4 piece RGB underglow kits on Amazon for an inexpensive start. Expect basic waterproofing and remote control.
- Midrange pick: search Govee car underglow kits for app control and longer runs.
- Durable pick: consider OPT7 Aura or similar automotive grade kits with Deutsch style connectors and stronger adhesives.
For a deeper how to on wheel mounted lighting that pairs perfectly with strip lights for full side visibility see our Motorcycle Wheel Lights Review: Cheap, High Impact Visibility Upgrades For Delivery Riders.
If you pick a kit and want a step check while you work we are happy to walk through your wiring photos. Ride safe and keep those shifts bright.
Our Top Picks
Premium Delivery Backpack
Key Features
- Waterproof
- 40L capacity
- Insulated
Budget Courier Bag
Key Features
- Lightweight
- 25L capacity
- Reflective
Heavy Duty Carrier
Key Features
- Reinforced
- 60L capacity
- Multiple compartments
* Based on extensive testing and real-world delivery experience